Being asian, a lot of my comfort food is chinese - although when I was sick, my mum usually gave me a bowl of some sticky black bitter herbal concoction that was supposed to make me better. Much worse than cherry cough syrup. Anyway, my point is that a lot of my "comfort" foods come from comforting routines my family had established. Because my dad worked in a restaurant I didn't get to spend weekends with him when I was in school - but during school holidays we always went out for lunch, usually to some chinese noodle place where I would always order roast pork and wonton noodle soup. Or we would go to yum cha and I always had the har gow. So those are at the top of my list for "comfort food".
What's on yours?
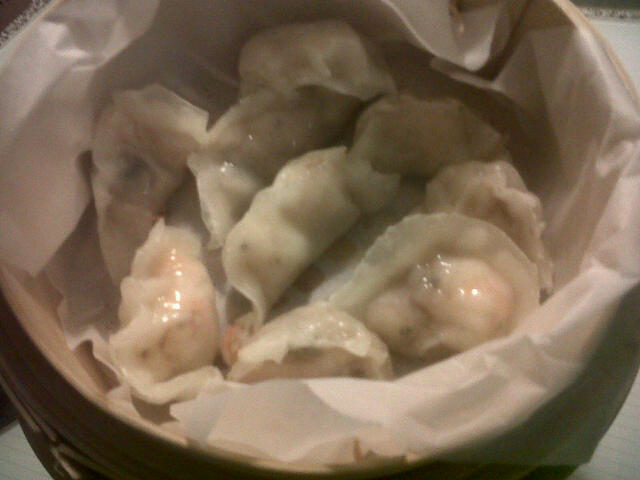
Har gow recipe
Taken from http://www.anyrecipe.net/asian/recipes/hagow.html
Filling
300 g prawns
150 g water chestnuts minced
2 1/2 tbs corn flour
1/2 tsp sugar
1/2 tsp black bean sauce
1/2 tsp salt
1 tsp sesame oil
1/4 tsp grated ginger
Wrapper
1 1/4 cup wheaten corn flour
1/2 cup tapioca flour
1 cup boiling chicken broth
1/4 tsp salt
1 tsp oil
Peel and devein prawns and cut into 1 cm pieces. Mix with filling ingredients and set aside.
Mix wheaten cornflour and tapioca flour with broth and oil. Knead into dough - if it's too sticky, add more wheaten cornflour.
Break off about 1/4 of the dough and cover the rest to keep moist. Roll into a 1.5 cm thick tube then divide into eight pieces.
Roll each piece out as a flat dumpling wrapper - using a flat bottom of a pan to press down on the dough really works! Your wrapper should be round and no more than a couple of mm in thickness.
Pleat the edges of about 1/2 the circumference of the wrapper so you have a small little 1/2 cup. Traditionally, 8 pleats iis a lucky number in chinese culture. Place filling into the "cup" and fold over to form a half moon shape. Fold the corners in a little and flatten the bottom on a piece of grease paper to form the rest of your dumpling shape. Repeat with the rest of the dough.
Steam in a bamboo steamer lined with grease paper for about 7 minutes. Let sit for 3 minutes before serving.